
Time Machine Won't Back Up to Time Capsule on macOS 27? What to Do
By Tech Entertainer Team · 2026-09-25
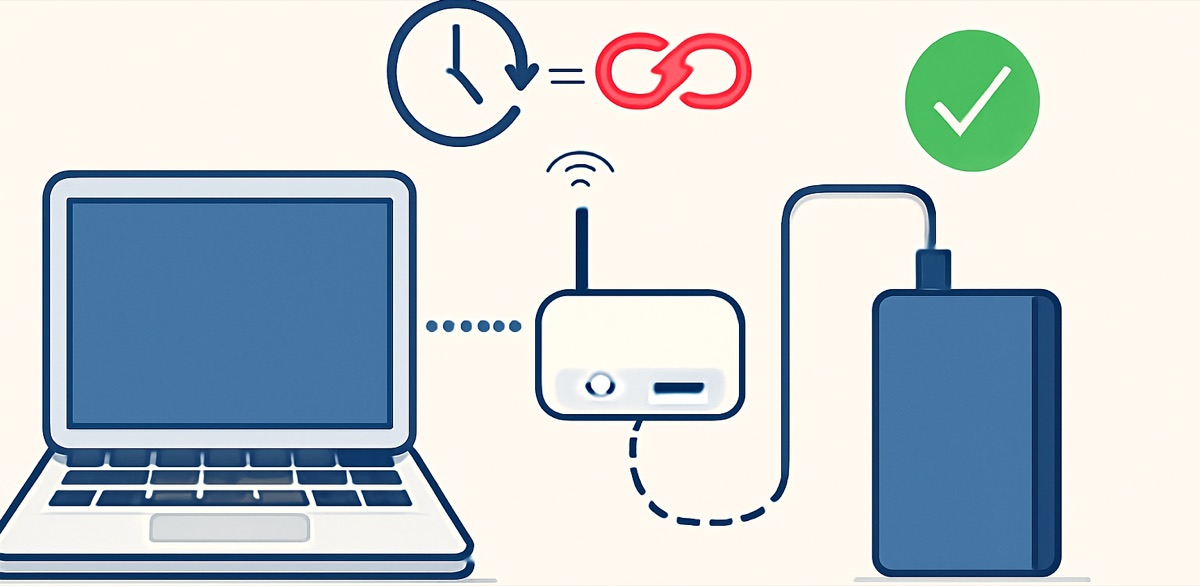
You upgraded to macOS 27 Golden Gate, and a day later Time Machine reported the backup disk is not available. Your AirPort Time Capsule sits on the shelf with a green light, the Wi-Fi works, and yet the Mac acts as if the drive doesn't exist. It no longer shows under Network in Finder either.
Nothing is broken on the Time Capsule. Apple released macOS 27 on September 14, 2026, without AFP (Apple Filing Protocol), the file-sharing protocol every Time Capsule and AirPort Disk depends on for Time Machine (MacRumors, September 16, 2026). Time Machine on macOS 27 talks to network drives over SMB only. Apple's Time Capsule firmware doesn't offer SMB in the form Golden Gate expects, so the Mac has no way to mount it.
This guide covers two jobs: getting files out of your old Time Capsule backups, and moving Time Machine to a destination macOS 27 supports.
Key Takeaways
- macOS 27 removed AFP. No setting, reset, or firmware update brings Time Capsule backups back.
- Your old backups stay intact on the Time Capsule. A Mac on macOS Tahoe or earlier still reads them.
- The fastest replacement is a USB or Thunderbolt external drive plugged into your Mac.
- For wireless backups, use a NAS with SMB and Time Machine support, or share a folder from another Mac.
Why Did Time Machine Stop Backing Up to My Time Capsule?
Time Machine stopped because macOS 27 has no AFP client. Time Machine on a Time Capsule runs over AFP, and the Time Capsule's old SMB1 support doesn't meet the SMB requirements of macOS 27, so the Mac never connects to it. Every AirPort Time Capsule generation is affected, along with hard drives plugged into the USB port of an AirPort Extreme (AirPort Disk).
Apple gave notice. macOS Tahoe showed a warning in System Settings saying Time Capsule backups would stop working in the next major macOS release. Plenty of people dismissed the notice and upgraded anyway.
To confirm AFP is the cause on your Mac, open Terminal and run:
tmutil destinationinfo
If the URL line for your backup destination starts with afp://, you've found the problem. The same failure hits older NAS boxes set up to serve Time Machine over AFP instead of SMB.
How Do I Get Files Out of My Old Time Capsule Backups?
Use a Mac still running macOS Tahoe or earlier, or archive the Time Capsule disk to a USB drive and open it on your macOS 27 Mac. The backups themselves are untouched. Only the network protocol is gone.
Do this step before you erase, sell, or recycle the Time Capsule. Keep the old backups until your new destination has finished a full backup and you've restored a test file from it.
Option 1: Use a Mac on macOS Tahoe or earlier
Intel Macs top out at macOS Tahoe, so an older Intel MacBook or iMac in your house still speaks AFP.
- On the older Mac, open Finder and select the Time Capsule under Network in the sidebar.
- Sign in with the Time Capsule disk password, then open the Data share.
- Double-click the
.sparsebundlefile named after your Mac to mount the backup. - Open the mounted volume, browse the dated backup folders, and copy the files you need to an external drive.
Option 2: Archive the whole disk to a USB drive
AirPort Utility includes an Archive Disk feature. It copies the Time Capsule's internal drive to a USB drive plugged into the Time Capsule's own USB port. The copy runs on the Time Capsule, so the Mac only starts it.
- Plug a USB drive with more free space than the Time Capsule uses into the USB port on the back of the Time Capsule. Format it as Mac OS Extended (Journaled) first.
- On a Mac with macOS Tahoe or earlier, open AirPort Utility (in Applications > Utilities).
- Click the Time Capsule, click Edit, then open the Disks tab.
- Click Archive Disk, choose the USB drive, and wait. A 2TB Time Capsule takes several hours.
- When it finishes, plug the USB drive into your macOS 27 Mac and double-click the
.sparsebundlefile to mount the backup and copy files.
A Time Machine archive on a local USB drive doesn't need AFP, which is why this route works on Golden Gate.
What Is the Fastest Replacement for a Time Capsule?
A USB or Thunderbolt external drive connected straight to your Mac. Setup takes about two minutes and backups run faster than they ever did over Wi-Fi. Pick a drive at least twice the size of the data on your Mac so Time Machine keeps a useful history.
- Plug in the external drive.
- Open System Settings > General > Time Machine.
- Select the old Time Capsule entry and click the minus (-) button, then confirm Forget Destination. This removes the dead entry from the list. It doesn't delete anything on the Time Capsule.
- Click Add Backup Disk, select the new drive, and click Set Up Disk.
- Set a password if you want the backup encrypted, then click Done.
Time Machine offers to erase the drive if it isn't formatted as APFS. Accept only if nothing else is stored on it.
The first backup of a 500GB Mac over USB-C takes one to three hours. On a Time Capsule over Wi-Fi, the same backup often ran overnight. The drawback is obvious for laptop owners: backups only happen while the drive is plugged in. Leave it connected at your desk, or set a reminder to plug it in once a week.
How Do I Keep Wireless Backups Without a Time Capsule?
Buy a NAS with SMB and Time Machine support, or turn another Mac into a backup destination. Both work with macOS 27 because both use SMB.
Set up a NAS
AppleInsider recommends five two-bay NAS units under $300 as Time Capsule replacements, including the Synology DiskStation DS223j, QNAP TS-216G, and Ugreen NASync DH2300 (AppleInsider, September 15, 2026). On a Synology running DSM 7:
- Create a shared folder named TimeMachine in Control Panel > Shared Folder.
- Open Control Panel > File Services, and on the SMB tab, turn on Enable SMB service.
- On the Advanced tab, under Bonjour, turn on Enable Bonjour Time Machine broadcast via SMB.
- Click Set Time Machine Folders and select the TimeMachine folder.
- Set a quota on the folder so Time Machine doesn't fill the whole NAS.
On your Mac, open System Settings > General > Time Machine, click Add Backup Disk, and the NAS appears in the list. Sign in with a NAS user account, not the admin account. QNAP and TerraMaster follow the same pattern: turn on SMB 3, mark a shared folder for Time Machine, then add it on the Mac.
If an existing NAS once served Time Machine over AFP, switch the share to SMB in the NAS settings. Expect Time Machine to start a fresh backup instead of continuing the old one.
Share a folder from another Mac
A Mac mini or iMac left on at home works as a free Time Capsule replacement.
- On the host Mac, open System Settings > General > Sharing and turn on File Sharing.
- Click the Info (i) button next to File Sharing, then click Add (+) under Shared Folders and pick a folder on a drive with plenty of space.
- Control-click the folder in the list, choose Advanced Options, and select Share as a Time Machine backup destination.
- Optionally set Limit backups to a size, then click OK.
Your macOS 27 Mac now lists the shared folder under Add Backup Disk in Time Machine settings.
Is There a Way to Keep Using My Time Capsule?
Only through unofficial software, and I wouldn't trust it as your only backup. A community project on GitHub called TimeCapsuleSMB installs a modern Samba 4 server onto the Time Capsule, so macOS 27 connects to it over SMB3 (iThinkDifferent).
Know the trade-offs before you try it:
- Apple doesn't support it, and a firmware reset removes it.
- Time Machine treats the patched Time Capsule as a new destination and starts a new backup chain.
- On older Time Capsule models, the Samba server needs a manual restart after a power outage.
- The newest Time Capsule shipped in 2013. Its internal hard drive is past the age where drive failures climb.
If you enjoy tinkering, it's a fun way to extend old hardware. For the backup you'd depend on after a stolen laptop or a dead SSD, use a drive or NAS built in the last few years.
Should I Downgrade to macOS Tahoe to Keep My Time Capsule?
No. Downgrading means erasing your Mac, installing Tahoe, and restoring from a backup, and the Time Capsule problem returns the next time you upgrade. A 2TB external drive costs less than $80 and solves the problem in minutes.
Here is the order I'd follow:
- Pull any files you need from the old Time Capsule backups with a Tahoe Mac or Archive Disk.
- Set up an external drive today so your Mac has a current backup.
- Add a NAS or shared Mac later if you want wireless backups back.
- Keep the Time Capsule untouched until the new backup has run for a couple of weeks.
For other Golden Gate trouble, see our guide to fixing Mission Control on macOS 27. If Time Machine data fills your Mac's own drive, our post on clearing a huge System Data category covers local snapshots too. And if Wi-Fi drops keep interrupting network backups, work through our Mac Wi-Fi dropping fixes.
Frequently Asked Questions
Will Apple bring Time Capsule support back in a later macOS 27 update?
No. Apple removed the AFP client from macOS 27 on purpose and warned about it in macOS Tahoe with a notice in System Settings. Point releases such as macOS 27.1 or 27.2 won't restore it. Plan on an external drive, an SMB network drive, or another Mac as your new backup destination.
Are my old Time Capsule backups gone after I upgrade to macOS 27?
No. The upgrade doesn't touch the Time Capsule or the backups stored on it. Your Mac on macOS 27 won't mount the drive, but a Mac still on macOS Tahoe or earlier reads the old backups as before. You also have the option to copy the whole Time Capsule disk to a USB drive with AirPort Utility's Archive Disk feature and open it on your macOS 27 Mac.